





How to Choose the Best Electrical Diagnostic Tools?
Choosing the best Electrical Diagnostic Tools is less about buying the newest device and more about matching tools to real testing needs. A residential electrician, an automotive technician, and a maintenance team may face very different faults. Their equipment should reflect those differences. A digital multimeter can measure voltage, resistance, and continuity, while a clamp meter helps check current without disconnecting a conductor. Thermal cameras and circuit tracers can add useful clues, but they are not necessary for every job.
Start by considering the systems you inspect, the measurements you need, and the conditions where you work. Check measurement ranges, accuracy, build quality, and safety ratings. For example, a meter used around distribution panels needs an appropriate CAT rating, intact test leads, and clear overload protection. Read the manufacturer’s instructions, and verify calibration requirements when readings support important maintenance decisions. Small details matter.
Price alone is a weak guide. A low-cost tool may suit occasional, low-risk checks, but unclear readings or fragile leads can create avoidable problems. Expensive equipment is not automatically better, either. A feature-rich analyzer can sit unused if its controls are confusing or its functions exceed your needs. It is easy to overlook comfort, display visibility, and replacement-part availability. That deserves a second look. This guide explains how to compare common tool types, assess practical features, and choose equipment that fits your skill level and work environment. No single checklist replaces sound judgment; tool limits and safe procedures still matter.
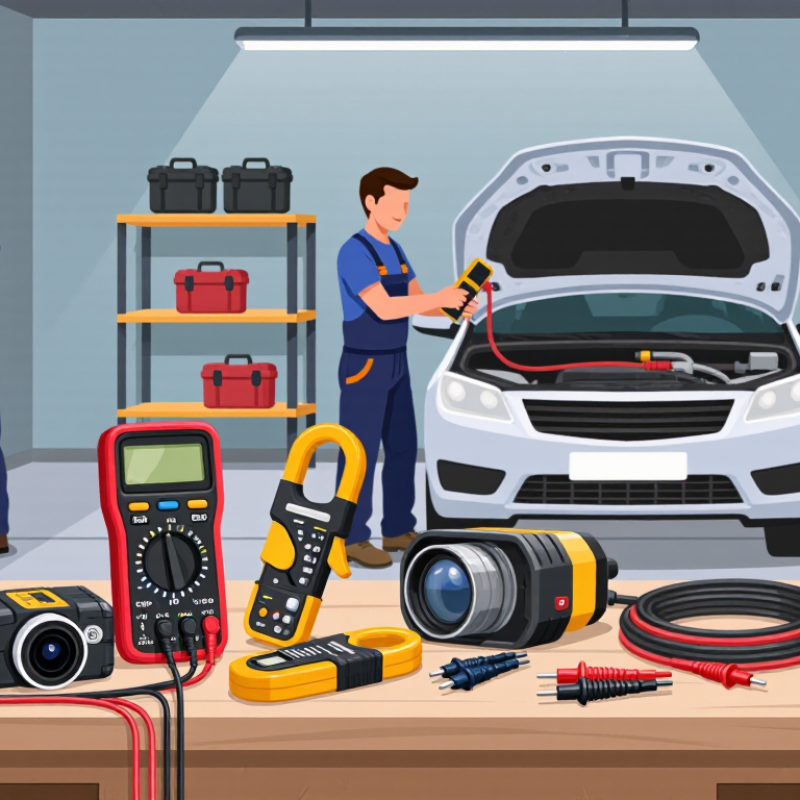
Define the Electrical Faults and Systems You Need to Diagnose
Before choosing a tool, define the fault and the system you need to inspect. Is the symptom a dead circuit, a voltage drop, a motor that overheats, or a battery that loses charge? Note when it happens and what else is running. A breaker that trips only under load points to a different test than a loose connection that causes flickering lights.
The system matters. Household wiring may call for voltage, continuity, and current checks; motor circuits may also need insulation-resistance testing. Low-voltage controls and battery systems require tools suited to their ranges and components. Start with the symptom. Then check the equipment documentation and identify safe test points. A neat reading can still mislead if the circuit is energized unexpectedly or the meter setting is wrong.
NFPA’s Home Electrical Fires report estimated 46,700 U.S. home structure fires per year involving electrical distribution or lighting equipment, averaged across 2015–2019. That scale makes accurate fault identification more than a convenience.
Write down the system voltage, expected load, and fault conditions before selecting instruments. If the issue appears only intermittently, reproduce it carefully and record readings over time; one clean measurement may not explain the whole problem.
Identify the Main Types of Electrical Diagnostic Tools
Electrical diagnostic tools answer different questions, so the best choice depends on the fault you need to investigate. A digital multimeter measures voltage, resistance, and continuity. It can help locate a broken wire or check whether a battery circuit is behaving as expected. Choose a meter with suitable measurement ranges and safety ratings for the work. Readings are only useful when the probes make firm contact.
A clamp meter measures current around a conductor without disconnecting it. This is useful when checking a motor or appliance under load, though crowded panels can make clamping difficult. Non-contact voltage testers offer a quick preliminary check near a cable or outlet. They are convenient, not definitive. A tester may miss a conductor hidden by shielding or indicate voltage where further measurement is needed.
For deeper fault-finding, insulation resistance testers assess leakage through cable insulation, while circuit tracers help follow a wire through walls or conduits. Thermal cameras can reveal unusual heat around a loose connection or overloaded component. Look for patterns, not just bright spots. A warm area may have several possible causes. Small details matter. Use instruments according to their instructions, and leave hazardous live testing to qualified personnel. Even a reliable tool can give a clean number and still leave the real fault unexplained.
How to Choose the Best Electrical Diagnostic Tools?
Identify the Main Types of Electrical Diagnostic Tools
Use this comparison to match a tool to the task: multimeters check several electrical values, clamp meters measure current without opening the circuit, non-contact testers detect voltage presence, oscilloscopes display changing signals, and insulation testers assess insulation resistance. A value of 1 indicates a capability commonly found in that tool type; 0 means it is not a typical primary capability. Features vary by model, so check the specifications before use.
Compare Accuracy, Safety Ratings, and Measurement Features
How to Choose the Best Electrical Diagnostic Tools?
Compare accuracy, safety ratings, and measurement features before choosing a tool. Accuracy matters when readings guide repairs or troubleshooting. Check the stated accuracy range, not just the number of digits on the display. A meter showing 0.01 volts may still have a wider measurement error. Small details count. For work around electrical systems, confirm the tool’s safety category and voltage rating suit the environment. A rating for one setting may not be appropriate elsewhere. Inspect the probes, insulation, and input ports for damage before use.
Measurement features should match the tasks you actually perform. Continuity testing helps locate an open connection; capacitance measurement can help assess certain components. True-RMS measurement may provide more useful readings on non-sinusoidal signals. I’ve found it tempting to buy every feature, but unused functions can add cost without improving the work. Read the manual and verify that the selected range and accessory are suitable for the circuit.
Tips: Compare accuracy specifications at the ranges you use most. Check safety markings and probe ratings together. Keep a record of calibration or verification checks, and replace damaged leads. If a reading seems inconsistent, pause and test again with a known reference. I still double-check unexpected readings; it takes time, but guessing is worse.
How to Choose the Best Electrical Diagnostic Tools? - Compare Accuracy, Safety Ratings, and Measurement Features
| Tool type | Typical measurements | Indicative accuracy* | Common safety rating options* | Useful measurement features | Best suited for |
|---|---|---|---|---|---|
| Digital multimeter | AC/DC voltage and current, resistance, continuity; some models measure capacitance, frequency, or temperature. | DC voltage commonly around ±0.5% to ±1.0% of reading, plus counts; check the specification for each range. | Models are available with ratings such as CAT II 600 V or CAT III 600 V. | True-RMS readings can improve AC measurements on non-sinusoidal waveforms. Look for fused current inputs, continuity tone, and clear overload indication. | General electrical troubleshooting where several electrical quantities need to be checked. |
| Clamp meter | AC current without disconnecting the conductor; some models also measure DC current, voltage, resistance, or frequency. | AC current is commonly specified around ±2% to ±3% of reading, plus counts; accuracy depends on range, jaw position, and conductor size. | Models are available with ratings such as CAT III 600 V; confirm the rating applies to the intended measurement and accessories. | True-RMS, inrush-current capture, and a narrow jaw can help with variable loads or crowded panels. Clamp around one conductor for a current reading. | Checking load current and circuit behavior when opening the circuit is undesirable. |
| Insulation resistance tester | Insulation resistance using a selected DC test voltage; some models also provide continuity or voltage checks. | Resistance accuracy is model- and range-dependent; specifications commonly state a percentage of reading plus counts. Check the test-voltage accuracy separately. | Some models carry CAT III 600 V ratings for applicable terminals; the rating does not replace safe isolation procedures. | Selectable test voltages, timed tests, automatic discharge, and a lockable test function can support insulation testing workflows. | Assessing insulation condition in de-energized wiring, motors, and equipment, following the applicable procedure. |
| Two-pole voltage tester | Presence or absence of AC/DC voltage; some models indicate polarity, phase sequence, or continuity. | Usually intended for voltage indication rather than precision measurement; numeric accuracy may not be specified. | Models are available with CAT III or CAT IV ratings at specified voltages. Select a rating appropriate to the measurement location. | A clear voltage indication, proving-unit compatibility, and a design that can be checked before and after use support safe voltage verification. | Verifying voltage presence or absence as part of an approved safe-isolation procedure. |
| Non-contact voltage detector | Indicates an electric field associated with AC voltage near a conductor; it does not provide a measured voltage value. | Not a precision instrument. Detection depends on the device, conductor, distance, shielding, and surrounding conditions. | Check the marked voltage range and applicable safety rating; ratings vary by model. | A visible and audible indication can support preliminary checks, but absence of an indication cannot confirm a circuit is de-energized. | Quick preliminary screening, followed by an appropriate contact voltage test when safety decisions are required. |
*Specifications and CAT ratings vary by model; the ranges shown are general examples, not guarantees. Check the instrument’s manual, probe ratings, measurement category, and voltage limits before use. Follow applicable electrical safety procedures and use suitable personal protective equipment.
Assess Ease of Use, Durability, and Maintenance Needs
When comparing electrical diagnostic tools, test their controls before considering extra features. A meter should show clear units, readable digits, and stable readings under ordinary work conditions. Gloves can make small buttons awkward. Try the selector with one hand, and check whether the display remains visible in a dim service panel. That matters.
Durability depends on more than a thick case. Look for strain relief at cable ends, a secure battery cover, and a screen that resists routine scratches. In a workshop, tools may move between a bench and a vehicle, so a protective case can prevent avoidable damage. Check the leads. Frayed insulation, loose probes, or bent connectors are reasons to replace them, not ignore them. Match the tool’s rated measurement category to the work environment, and follow its manual; a rugged appearance is not proof of electrical safety.
Maintenance needs should fit the user’s routine. Consider whether batteries are easy to replace and whether the instrument gives a clear low-battery warning. Keep probes clean and dry, inspect cables before use, and arrange calibration according to the manufacturer’s guidance or workplace requirements. A complex tool may offer useful functions, yet sit unused if its menus are confusing. That tradeoff is easy to overlook. Choose a tool you can operate consistently, while remembering that no feature list compensates for poor habits or damaged leads.
Match Tool Capabilities to Your Work Environment and Budget
Choose diagnostic tools for the site, not the most impressive specification sheet. A residential electrician may need a compact multimeter and non-contact voltage tester for tight panels and routine checks. Plant maintenance can justify a clamp meter, insulation tester, or thermal camera when motors, long shifts, and recurring faults are involved. Match measurement ranges and safety ratings to the equipment and task; use properly rated instruments and follow safe testing procedures. Keep calibration and replacement costs in the budget.
The NFPA report Home Electrical Fires found an estimated annual average of 46,700 U.S. home fires involving electrical failure or malfunction from 2015 to 2019. That figure concerns fires, not tool effectiveness, but it shows why dependable diagnosis matters. For a small contractor, buying every advanced instrument may tie up cash without improving daily work. For a facility team, sharing a calibrated thermal camera may be more practical than buying one for each technician.
Compare total ownership costs: purchase price, calibration, batteries, training, and downtime if a tool fails. A cheaper meter can become expensive when it lacks the range or accessories your jobs require. I would reassess the choice after a few weeks on site; specifications rarely capture awkward access or gloved hands. Some details only show up in use.
