





How to Install a Metal Sandwich Panel Roof?
A Metal Sandwich Panel Roof can be quick to install, but dependable performance comes from careful planning and continuous control of water, air, and heat. The U.S. Department of Energy estimates that buildings account for about 40% of U.S. energy use, making insulation and air leakage important parts of roof design. This figure is not a promise of savings from any single roof system. Actual results depend on the building, climate, panel specification, and workmanship.
Building-envelope expert Dr. John Straube’s work emphasizes a practical principle: roof performance depends on the continuity of the whole assembly, not just the panels. This is a paraphrase, not a verbatim quotation. For installation guidance, this introduction also draws on the Metal Building Manufacturers Association’s metal-building resources and the NRCA Roofing Manual. Those references help frame the details that matter: structural support, panel orientation, fastener placement, side-lap closure, and ridge and eave flashing.
A small gap matters. At the eave, a misplaced closure can admit wind-driven rain; at a side lap, uneven fastening can distort the joint. This guide explains how to inspect the substrate, plan panel layout, handle and lift panels safely, and install trims and fasteners in sequence. It also flags a practical limitation: manufacturer instructions differ, and generic steps cannot replace the project-specific details. Check the panel supplier’s installation manual and the design documents before work begins. A roof can look neat from the ground and still hide a weak seam.
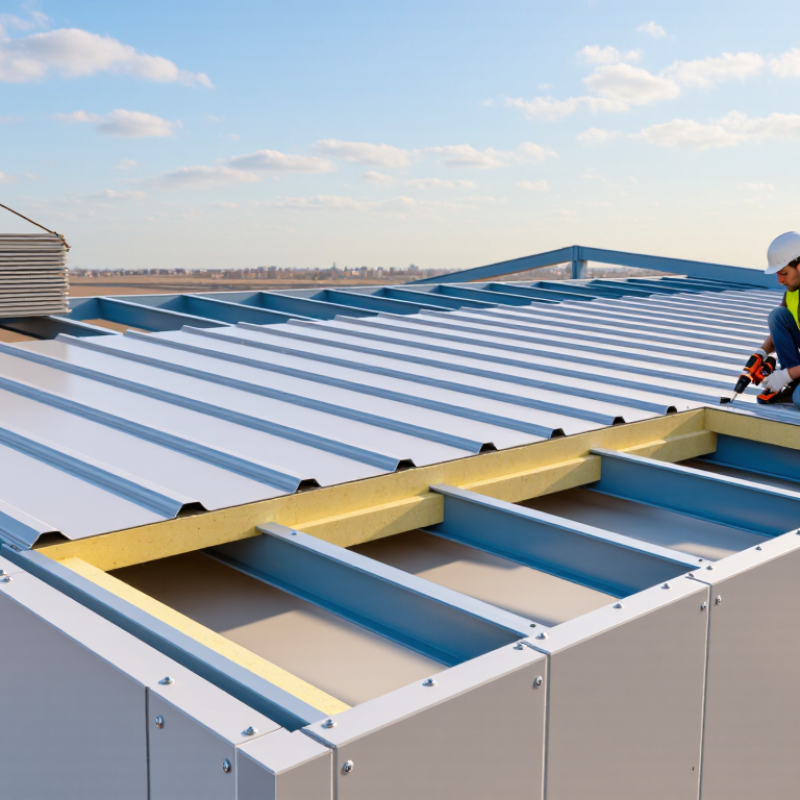
Prepare the Roof Structure and Check Panel Specifications
How to Install a Metal Sandwich Panel Roof?
Prepare the Roof Structure and Check Panel Specifications
Before lifting panels, inspect the roof framing for straightness, secure connections, and corrosion. Check purlin spacing against the panel manufacturer’s load tables; spacing that is too wide can cause deflection, while uneven supports may leave visible gaps at the joints. The 2021 International Building Code lists 20 pounds per square foot as the unreduced roof live load for ordinary roofs. That is only one design load: snow, wind, panel weight, and local conditions also matter. ASCE/SEI 7-22 provides procedures for determining wind and snow loads. Have a qualified designer confirm the structure can carry the project-specific loads. A quick visual check is useful, but it cannot replace that review.
Compare the panel drawings with the actual roof dimensions before ordering. Confirm panel length, thickness, core type, joint direction, end laps, and specified fasteners. Check that the roof slope meets the panel system’s requirements; there is no single minimum slope that fits every profile. Measure diagonals and mark purlin lines, especially near eaves, ridges, and openings. Small errors here can become awkward cuts later. Recheck them.
Tips: Store panels on raised, level supports, protected from standing water. Keep bundles slightly tilted for drainage, and inspect the delivery for dents or damaged edges before installation. A dented joint may seem minor, but it can complicate alignment and sealing.
How to Install a Metal Sandwich Panel Roof? - Prepare the Roof Structure and Check Panel Specifications
| Preparation Item | What to Check | Practical Reference or Action | Record Before Installation |
|---|---|---|---|
| Roof drawings and layout | Confirm the roof plan, slope direction, eaves, ridge, valleys, openings, and panel orientation. | Use the approved project drawings. Resolve dimensional conflicts before panels are delivered or cut. | Drawing revision, roof dimensions, and opening locations |
| Supporting structure | Check that purlins or other supports are secure, aligned, and suitable for the specified panel loads. | Verify support size, spacing, and connections against the structural design and panel installation documentation; do not assume one spacing suits every roof. | Support type, measured spacing, alignment, and connection condition |
| Roof plane and drainage | Check that the supporting surface is sufficiently even and that the roof can drain toward the eaves. | Correct irregularities that could prevent proper panel seating. Confirm roof slope meets the project and panel requirements. | Measured slope and any areas needing correction |
| Panel profile and dimensions | Match the panel profile, thickness, cover width, and overall lengths to the drawings. | Check delivery labels and panel measurements. Confirm that the profile is compatible with the planned side laps and accessories. | Profile, thickness, cover width, and panel lengths |
| Core and facing material | Verify the specified insulation core and metal facings for the project conditions. | Check that the delivered construction matches the approved specification, including any required fire, thermal, or corrosion performance. | Core type, facing material, coating, and applicable documentation |
| Fasteners and support compatibility | Confirm fastener type, length, washer, and corrosion compatibility with the panel and supporting material. | Follow the panel system instructions and structural design for fastener selection, placement, and spacing. | Fastener specification and approved installation pattern |
| Flashing and accessories | Check ridge, eaves, verge, valley, penetration, and closure details. | Ensure accessories suit the panel profile and are available before installation. Confirm where closures and seals are required. | Accessory list and detail locations |
| Delivery and storage | Inspect panels for visible damage and keep them protected before installation. | Store bundles on a stable, drained surface and follow the supplier's handling instructions. Avoid trapping moisture between panels. | Delivery condition, storage location, and any damaged panels |
| Site safety and access | Plan safe access, fall protection, lifting, and material handling. | Use the site safety plan and applicable local regulations. Do not walk on panels unless the system instructions and safe-work plan permit it. | Access plan, lifting method, and required protective measures |
| Pre-installation sign-off | Confirm that structural checks, panel specifications, and installation details agree. | Pause installation if measurements or delivered materials do not match the approved project requirements. | Inspection date, responsible person, and outstanding items |
Important: Project drawings, structural design, local building requirements, and the panel system's installation instructions take precedence over general guidance in this table.

